
Low water pressure is frustrating. High water pressure can be worse.
If your shower feels weak, your washing machine takes forever to fill, or your pipes bang when fixtures shut off, your home’s water pressure is worth checking. The good news is you can get a basic reading in just a couple of minutes with a simple pressure gauge.
Here’s the plain answer:
You can test your home’s water pressure by attaching a water pressure gauge to an outdoor hose bib, laundry hookup, or water heater drain valve, then turning the water on fully. Most homes should usually fall somewhere around 40 to 60 PSI. Readings below that may feel weak, while readings above 80 PSI can put extra stress on plumbing fixtures, supply lines, water heaters, and appliances.
What You Need
You only need one tool:
A water pressure gauge with a hose-thread connection.
You can usually find one at a hardware store or home center. Look for a gauge that screws onto a standard outdoor spigot.
A basic gauge is fine. A gauge with a “lazy hand” or memory needle is even better because it can show pressure spikes that happen when you are not standing there watching it.
The 2-Minute Water Pressure Test
Step 1: Turn off running water inside the house
Before testing, make sure no one is using water.
Turn off:
- Faucets
- Showers
- Dishwasher
- Washing machine
- Ice maker, if it is actively filling
- Irrigation system
You want a still-water reading, not a reading while the house is using water.
Step 2: Find a good test location
The easiest place is usually an outdoor hose bib.
Choose a spigot that is close to where the water line enters the home, if possible. If you have a pressure-reducing valve, also called a PRV, the best test location is usually after the PRV so you are measuring the pressure your home’s plumbing is actually receiving.
Other possible test points include:
- Laundry cold-water hookup
- Water heater drain valve
- Utility sink faucet with the right adapter
For most homeowners, the outdoor hose bib is the simplest choice.
Step 3: Screw on the pressure gauge
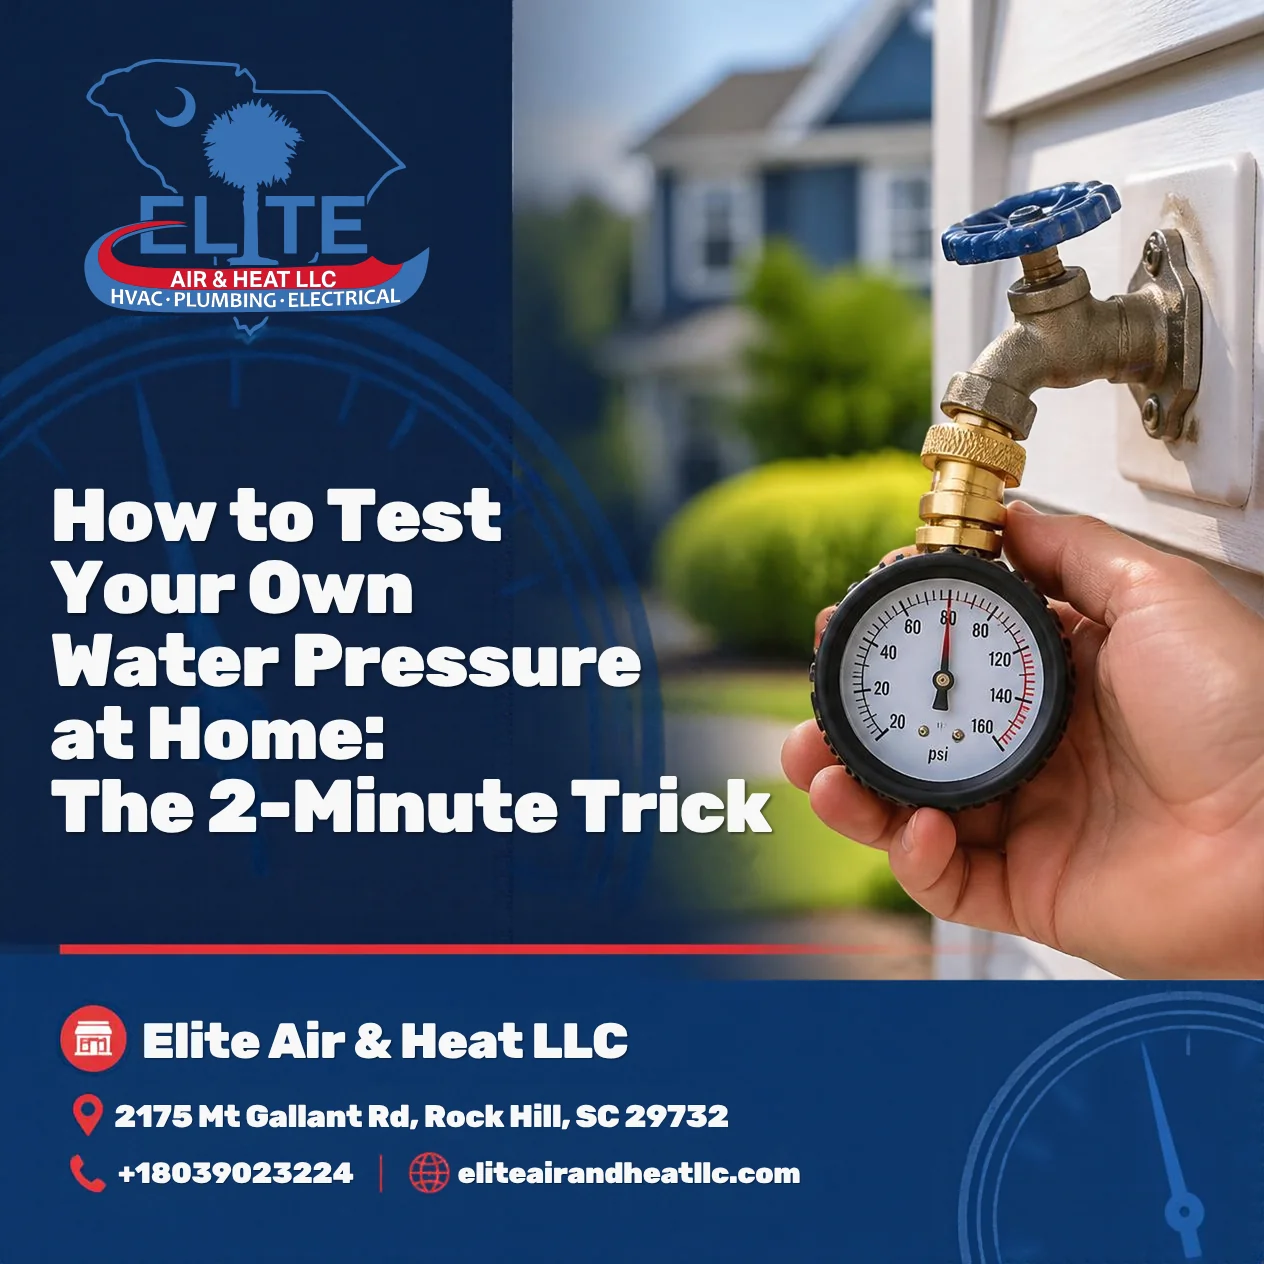
Thread the gauge onto the spigot by hand.
It should be snug, but do not over-tighten it. If it leaks a little, you may need a rubber washer inside the gauge connection.
Step 4: Turn the water on fully
Open the spigot all the way.
The needle should jump to a number and settle. That number is your static water pressure.
Static pressure means the pressure when no fixtures are actively running.
Step 5: Read the gauge
Use this as a general guide:
| Water Pressure Reading | What It Usually Means |
| Below 40 PSI | Often feels weak |
| 40–60 PSI | Normal range for many homes |
| 60–75 PSI | Usually acceptable, but worth watching |
| 80+ PSI | Too high for many residential plumbing systems |
| Big pressure swings | Possible PRV, municipal, or expansion issue |
If your reading is over 80 PSI, do not ignore it. High pressure can quietly wear out toilet fill valves, faucet cartridges, washing machine hoses, water heaters, and supply lines.
This is where homeowners sometimes get into trouble. Strong pressure may feel nice in the shower, but too much pressure can shorten the life of the plumbing system.
The Better Test: Check Pressure Overnight
A quick test tells you the pressure at that moment.
But water pressure can change during the day, especially on municipal water. Pressure may climb at night when fewer people are using water.
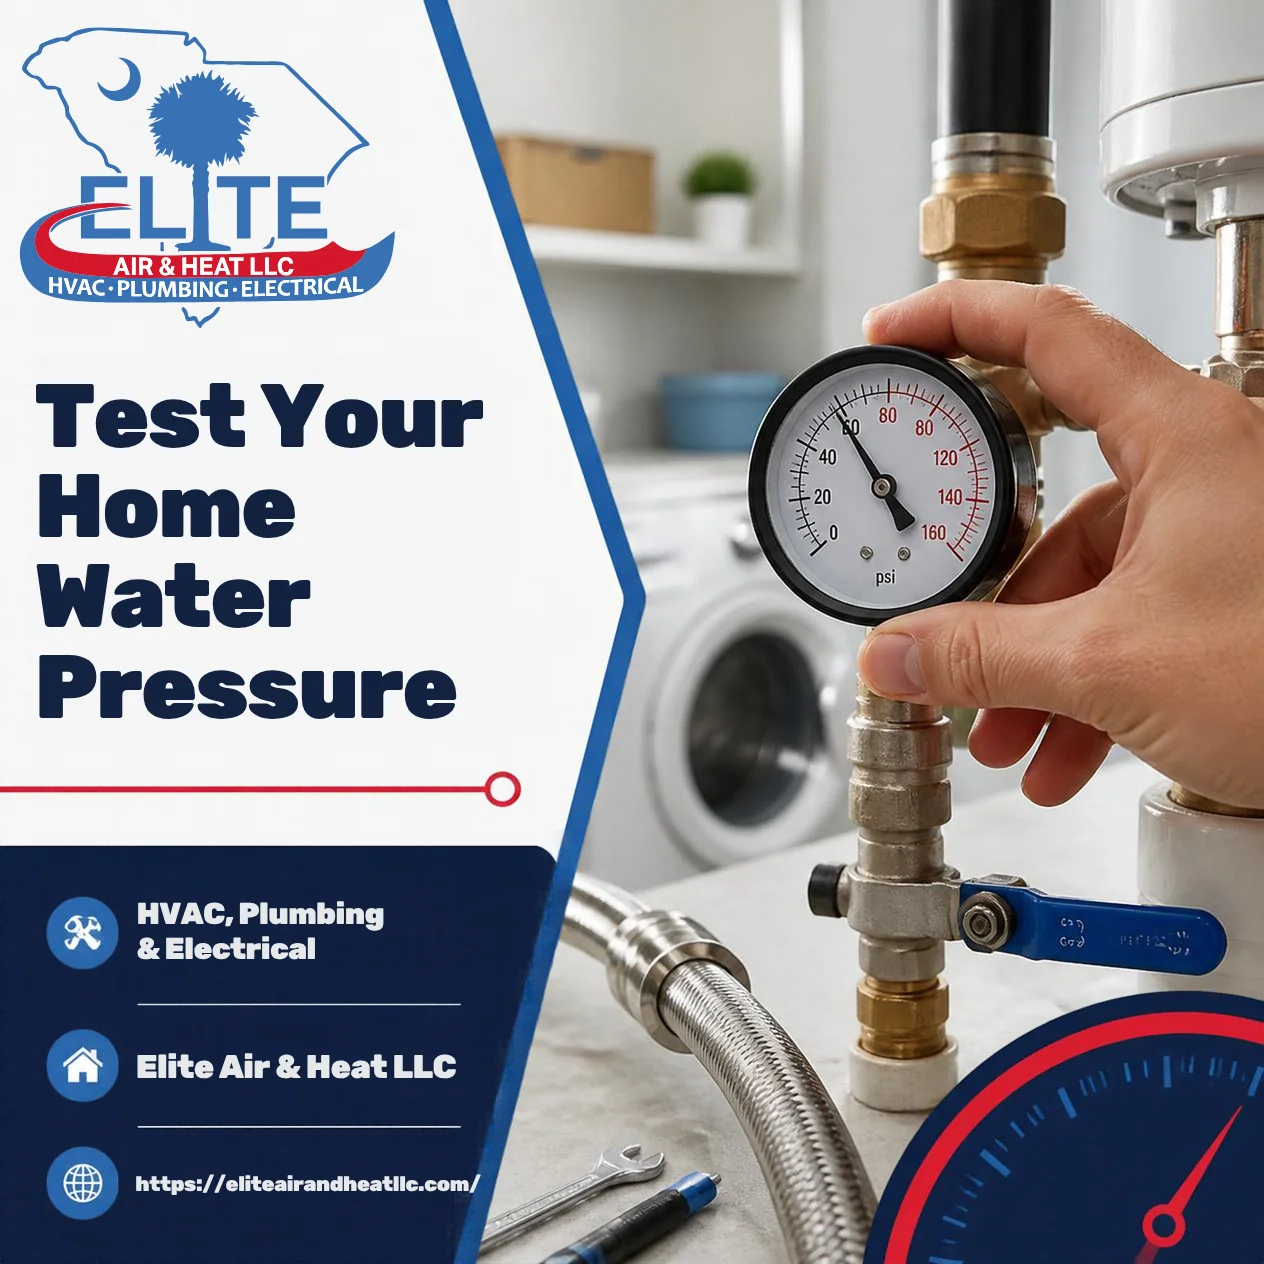
If your gauge has a memory needle, leave it attached overnight and check the highest reading in the morning.
That can help catch pressure spikes that do not show up during a quick daytime test.
What If the Pressure Is Too Low?
Low pressure can come from several different problems.
Common causes include:
- Partially closed main shutoff valve
- Clogged faucet aerators
- Failing pressure-reducing valve
- Old galvanized piping
- Mineral buildup
- Water softener restriction
- Leak in the main water line
- Municipal water supply issue
That does not automatically mean you need new pipes.
Start simple. Check whether the problem affects the whole house or only one fixture.
If only one sink is weak, the issue may be the aerator or faucet cartridge. If the whole house is weak, the problem is more likely at the main supply, PRV, water treatment equipment, or piping.
What If the Pressure Is Too High?
High pressure is often caused by a missing, failed, or misadjusted pressure-reducing valve.
A PRV is designed to lower incoming municipal pressure before it enters your home’s plumbing system.
Signs of high pressure may include:
- Pipes banging
- Toilets randomly running
- Faucet cartridges failing often
- Water heater relief valve dripping
- Appliance supply hoses wearing out
- Very forceful flow at fixtures
- Pressure reading above 80 PSI
A good plumber should check the PRV, expansion tank, water heater, and pressure at more than one location before recommending a repair.
What Is a Pressure-Reducing Valve?
A pressure-reducing valve is a control valve installed on the main water line.
Its job is simple: reduce high incoming water pressure to a safer level for the home.
If the PRV fails, pressure may climb too high or drop too low. Sometimes it also causes uneven pressure where the water starts strong and then fades.
The cheaper option is not always wrong, but it should make sense. Adjusting a PRV may be enough in some homes. In others, replacement is the better choice if the valve is old, stuck, leaking, or no longer holding steady pressure.
What Can Homeowners Safely Check?
You can safely check:
- Your pressure with a gauge
- Whether the main shutoff valve is fully open
- Whether low pressure affects one fixture or the whole house
- Faucet aerators for mineral buildup
- Showerheads for clogging
- Whether a water softener is in bypass mode
- Whether outdoor spigots have normal pressure
You should not DIY:
- PRV replacement
- Main water line repairs
- Water heater expansion tank work
- Soldering or pressurized pipe repairs
- Repairs involving corroded shutoff valves
- Anything that requires shutting off water without knowing if the valve will reopen properly
Water pressure problems can seem simple until an old valve breaks or a fitting starts leaking.
When Should You Call a Plumber?
Call a plumber if:
- Pressure is above 80 PSI
- Pressure is below 40 PSI throughout the home
- Pressure rises and falls dramatically
- The water heater relief valve drips
- Pipes bang when fixtures shut off
- Toilets or faucets keep failing
- You suspect a leak
- The PRV is old, corroded, or leaking
A good plumber should be able to show you the pressure reading, explain what is causing the issue, and tell you whether the fix is adjustment, repair, or replacement.
If You Only Remember One Thing
Buy a simple hose-thread water pressure gauge, screw it onto an outdoor spigot, turn the water on fully, and read the PSI.
That two-minute test can tell you whether your home is dealing with weak pressure, normal pressure, or pressure high enough to damage plumbing parts over time.
The goal is not to guess. The goal is to know the number before you start replacing fixtures, valves, or appliances.